1. Installation (Beta Version)
Click on the link here to download the app from Google Play.
For now it is limited to a selected number of trial participants.
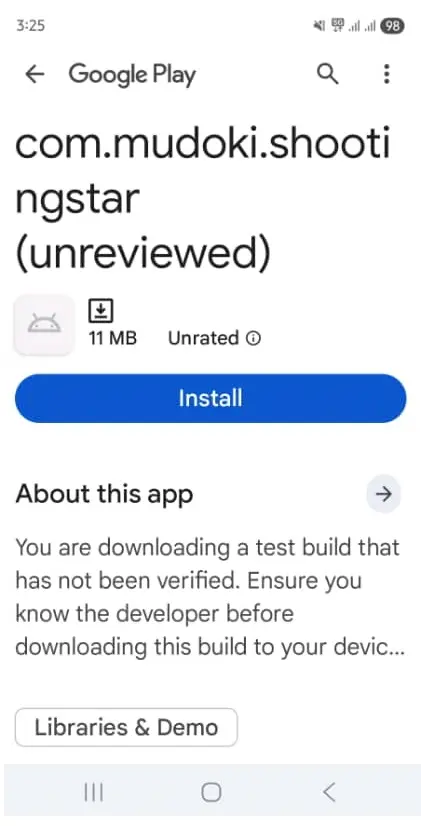
The Application's icon appear after successful installation.
2. Sign up create company
Open the application and you will arrive to the display below.
Look for Create Account at the bottom of the page.
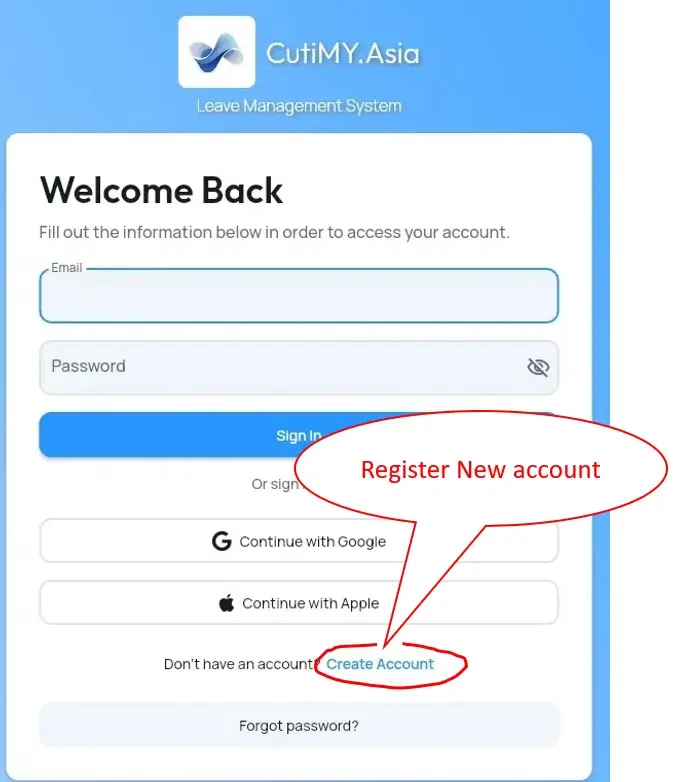
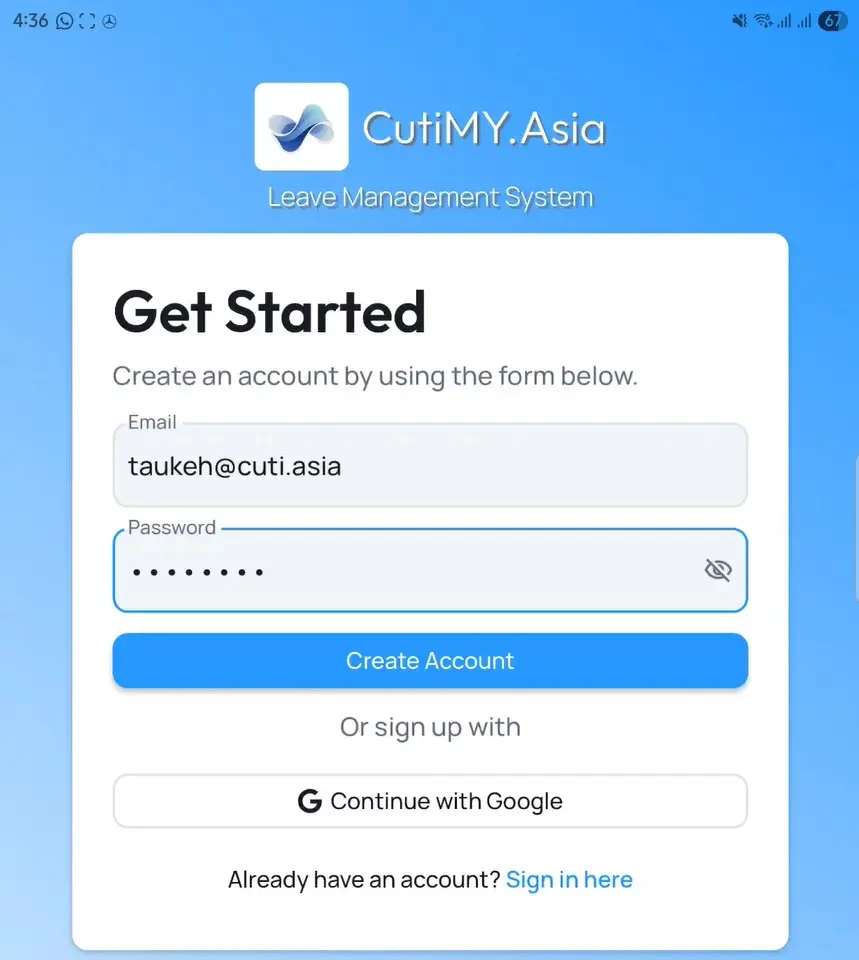
This will bring to you the Get Started display.

After that, input your (1) User Email Address as Login and a Secure Password, or (2) login via your Google account.
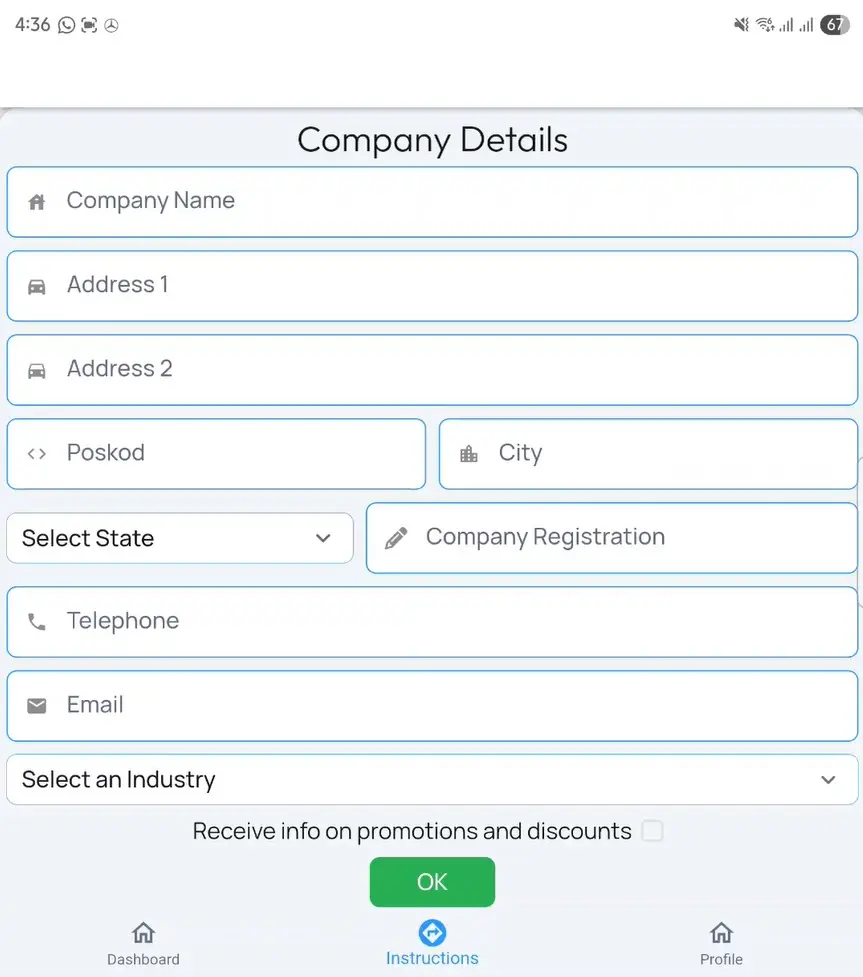
3. Confirm Company Particulars
The display interface below will show up once you have completed the task above.
Select Company to register your account.
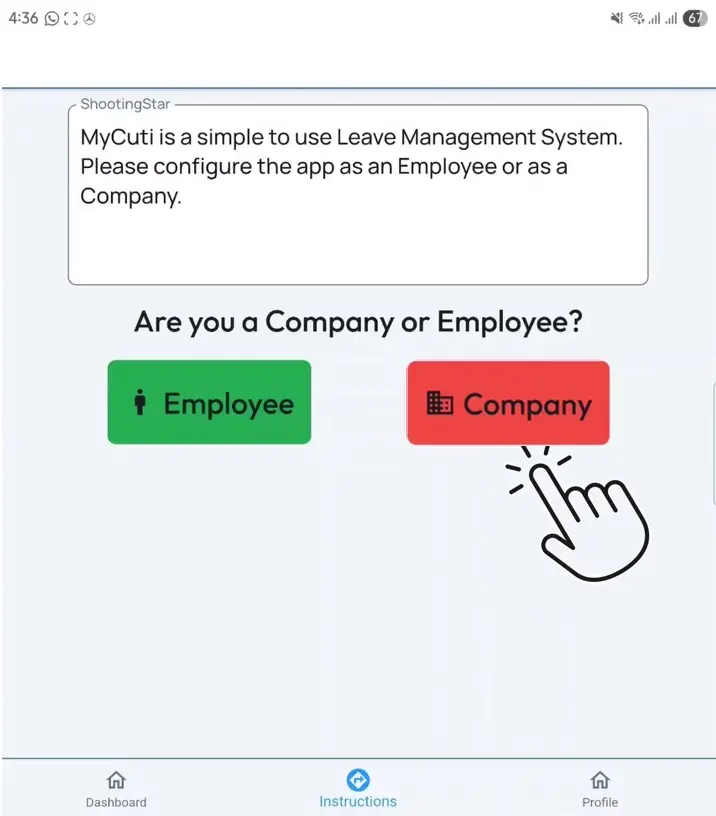
Fill in your Company details,
Congratulations you have made it!
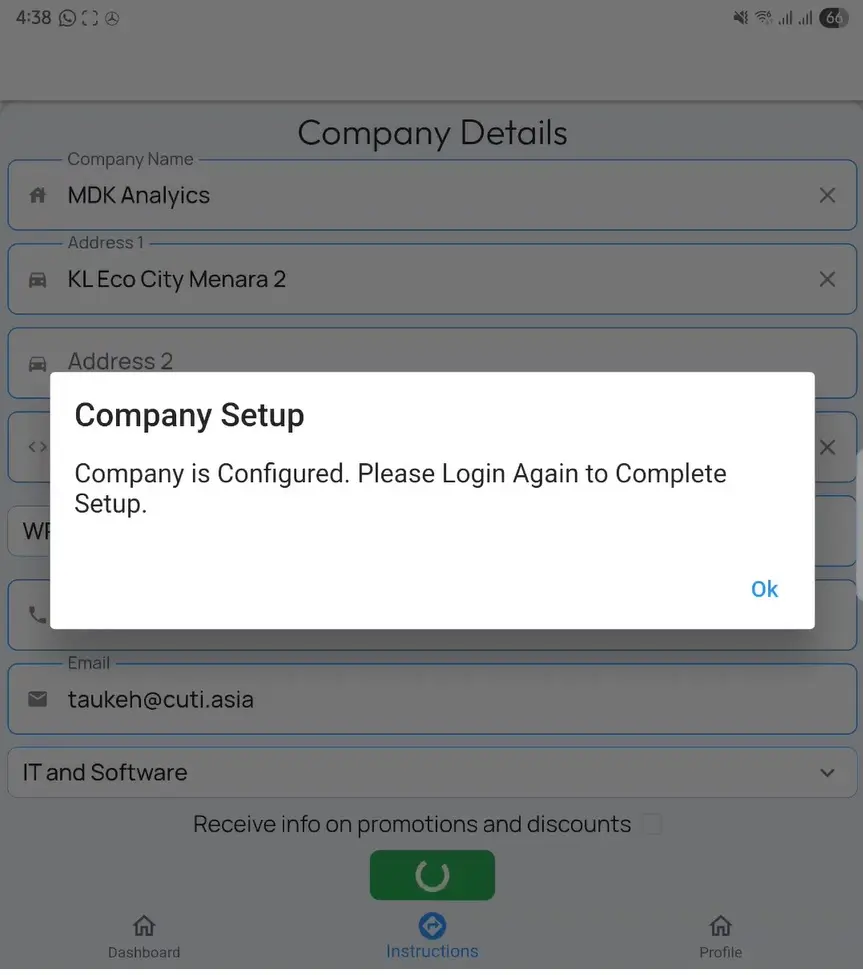
That is it, you are ready to start.
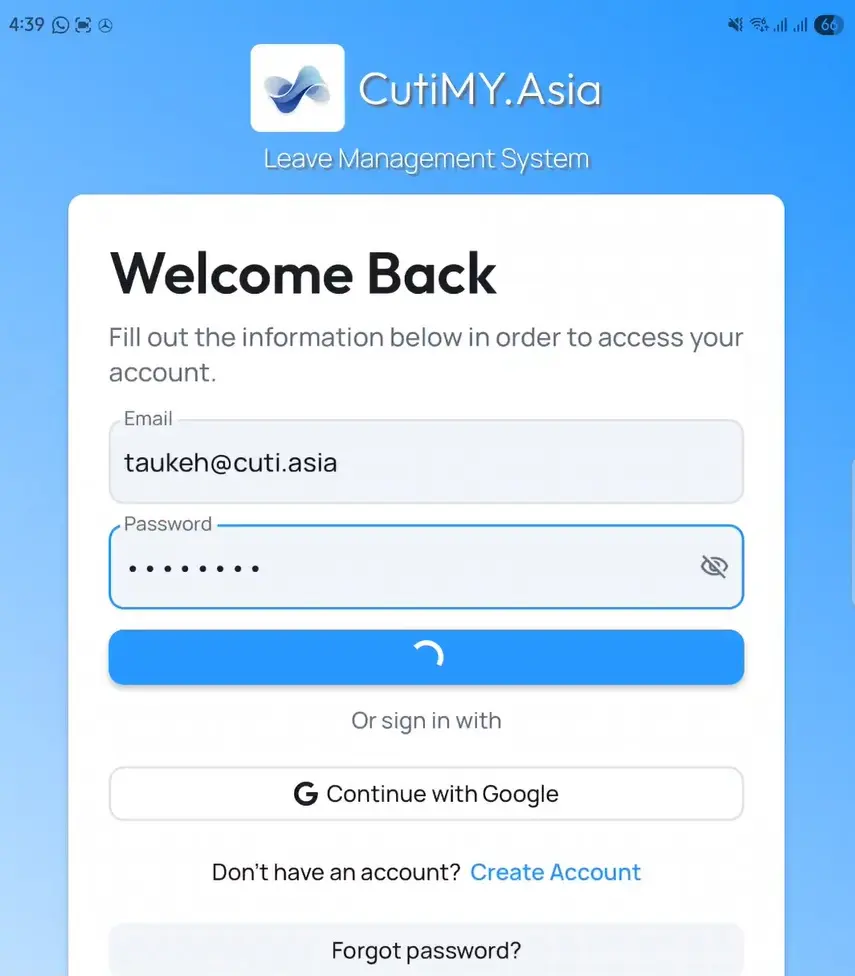
Follow the instruction to login again at the main Welcome Back display to login again.
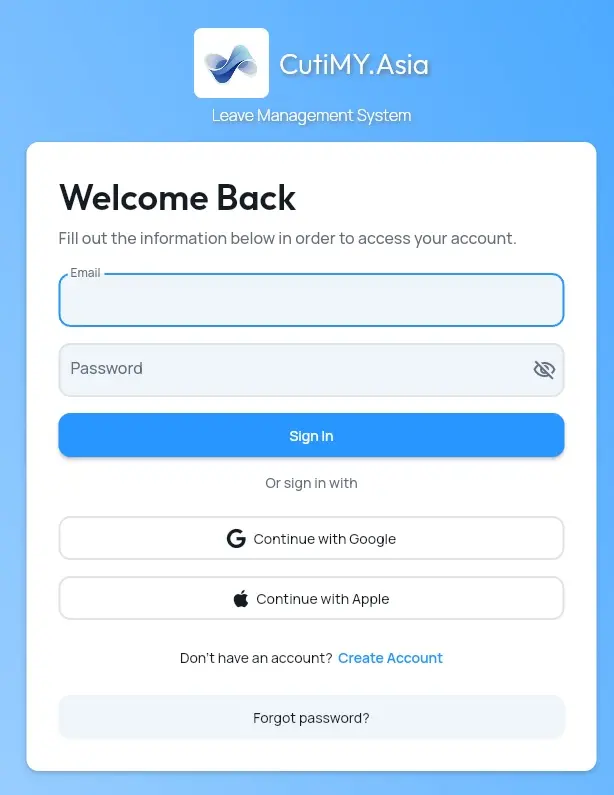
4. Start Using
Login back the application.
Company User Interface
This will bring you into the Taukeh Display with a BLUE Header.
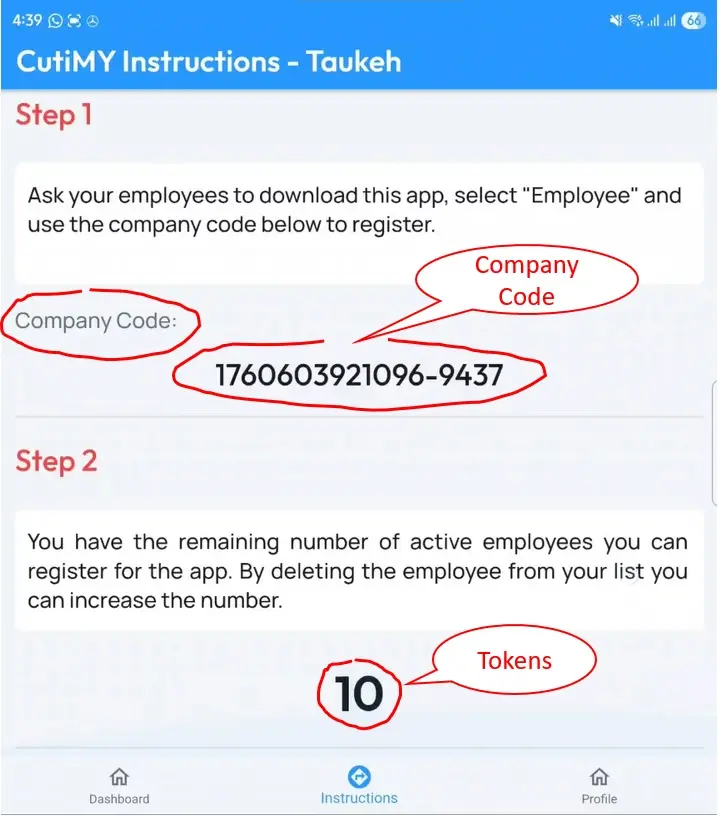
Please remember your Company Code. It will be needed for each of your employees to link their leave account with your company's.
5. Bottom Navigation Bar
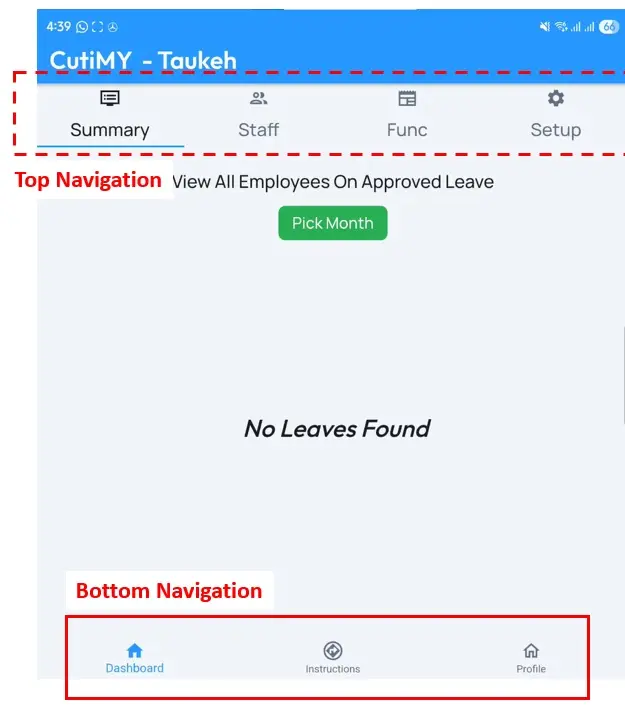
1. Bottom Navigation, Dashboard Button
The display shown above is the Dashboard. You will have access to the Top Navigation Bar in this display.
2. Bottom Navigation, Instruction Control
This is the default display when you login. It will show how many tokens you have for your company profile.
3. Bottom Navigation, Profile Control
The profile display is when you can Edit your profile, load a photo etc. It is also the site where you can Log Out from the application.
6. Top Navigation Bar (Dashboard)
The Dashboard display will have a top navigation bar that host 4 buttons.
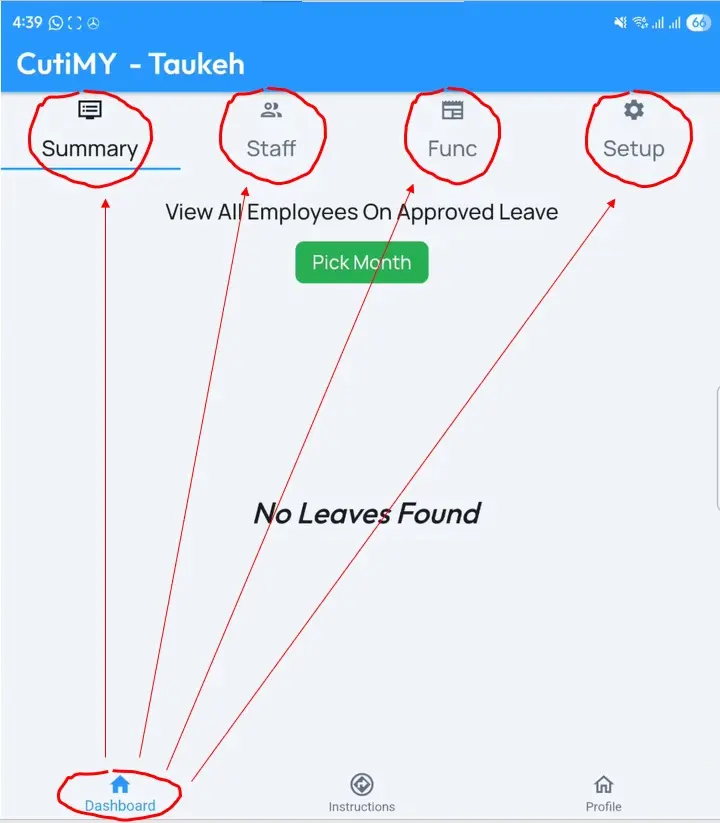
1. Summary
Provides you with an overview of all your employees and the leaves status. This is the default display for Dashboard.
2. Staff
This displays all the staff you have in your organization. You can enter from here to make changes on the default leave allocated for your worker.
3. Function
This page contains no used yet for now.
4. Setup
This will bring you (i) view the company profile, (2) Auto Leave Approval and (3) Default Leave Setting Template.
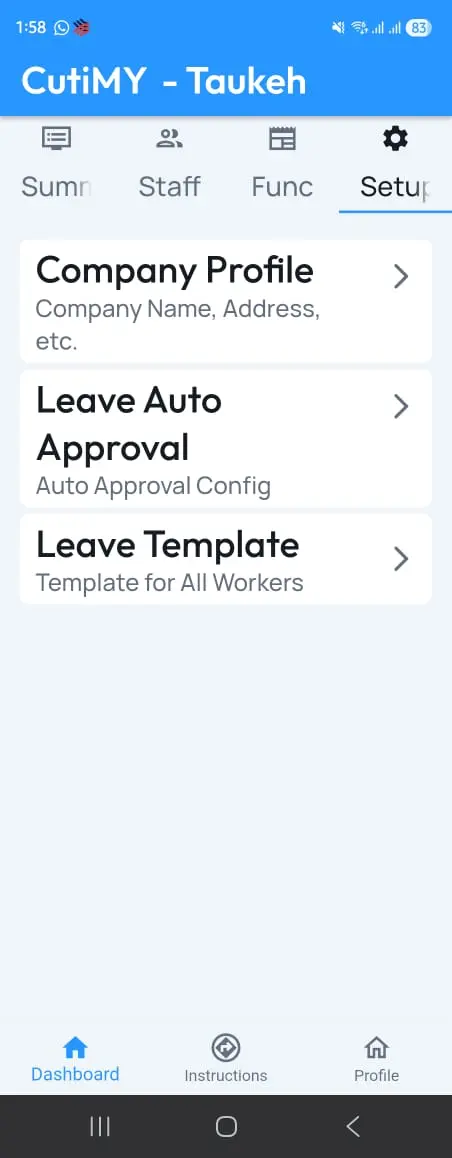
Auto Leave Approval This is the default number of days where leaves will automatically approved, no need seeking approval from superior.
For example if it is set as 2 days, then the employee leave application less than 2 days will be approved automatically once he or she applies. Should the leave applied is 4 days, then superior will be notified on this request before approval is granted.
Default Leave Setting Template. We have by default 10 different types of leave where you can set as the standard default template for your company. The most common ones are Annual Leave and Medical Leaves.
Take for example, if you set Annual Leave as 7 and Medical Leave as 7 too, all employees when setting up their new profile on this app will by default see 7 days of Annual Leave and also 7 Days of Medical leaves available. This amount can be later altered by the employer once the employee have signed up into the system.
7. Set up Employees
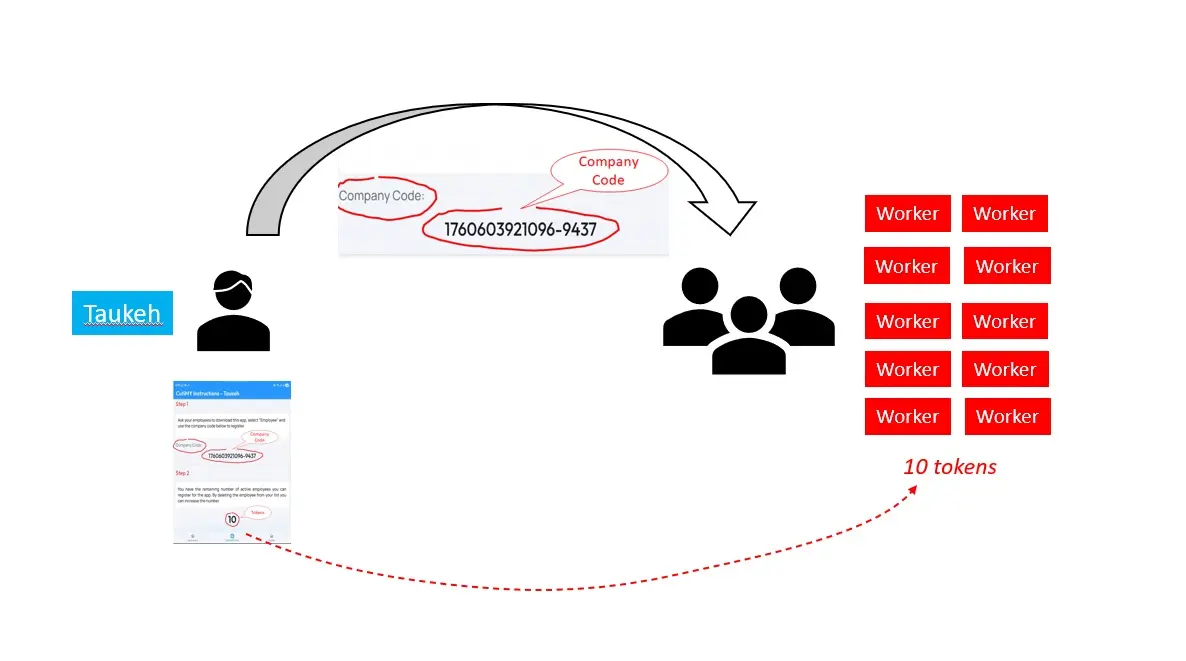
Your employees will have to download this app from Google Play. You will need to provide them with the company code so that when they set up, this code will be entered. The Company Code is the key that binds each of your employees with your company.
More User Information
How to change worker leave entitlement?
Each worker will inherit a default set of leaves upon joining. Company can alter each worker's leave entitlement individually.
How to approve leaves?
Guide on how to approve the leave of your worker.
How to remove worker?
Guide on how to remove worker that are no longer in your organization.
How to cancel and approved leave?
Guide if your staff needs you to cancel an approved leave.
How to set default automatic approval of leave?
Guide on how to set up default number of leave where it will be automatically approved.